Research Journal
ShellCrash 配置及使用教程
配置教程 #
-
本地安装ShellCrash的教程 https://juewuy.github.io/bdaz
-
ShellCrash官方库 https://github.com/juewuy/ShellCrash
安装流程 #
-
下载ShellCrash包: https://github.com/juewuy/ShellCrash
-
安装
mkdir -p /tmp/SC_tmp && tar -zxf '/tmp/ShellCrash.tar.gz' -C /tmp/SC_tmp/ && bash /tmp/SC_tmp/init.sh && source /etc/profile >/dev/null
-
安装好后,通过
crash命令启动代理 -
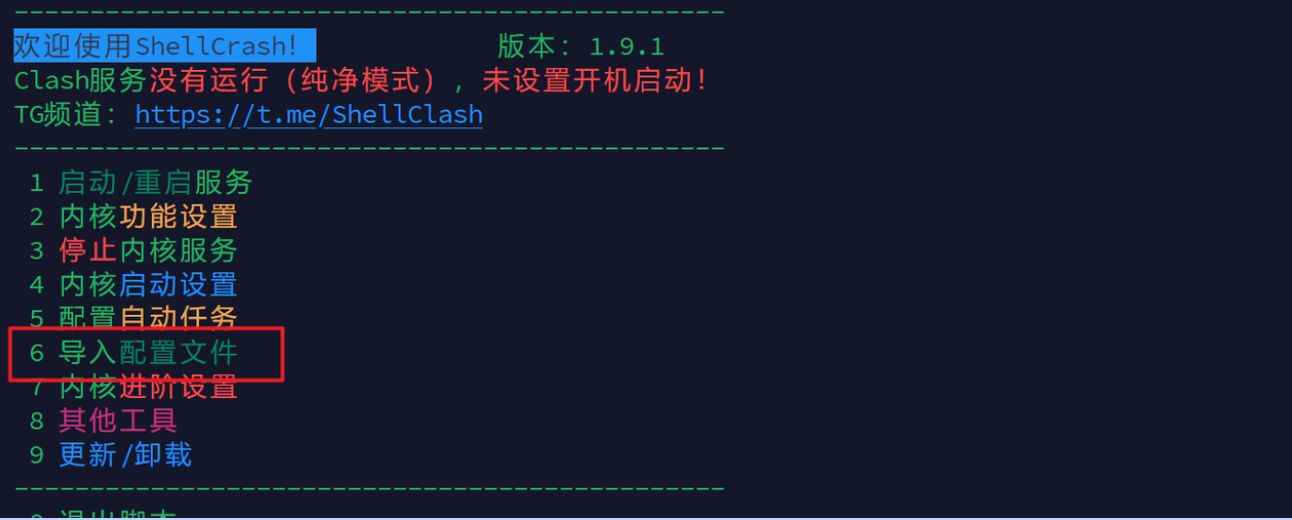
根据提示,导入订阅码

- 测试是否配置成功
curl -x http://127.0.0.1:7890 https://www.google.com -I
- 定时自启
为了防止每天VPN一直开着导致日志堆积,所以可以设置下每天定时自动启动,同时配置开机自启。
crontab -e

30 3 * * * bash anzhuangmulu/ShellCrash/start.sh >/dev/null 2>&1
@reboot bash anzhuangmulu/ShellCrash/start.sh >/dev/null 2>&1
使用教程 #
- 一次性使用(仅在当前会话窗口生效)
export http_proxy="http://127.0.0.1:7890"
export https_proxy="http://127.0.0.1:7890"
注:如果想永久使用,可以将上边两条命令写到 ~/.bashrc 里边。
- 配置快捷指令(推荐)
通过vim ~/.bashrc命令进入 .bashrc 文件将启用和禁用代理的过程封装为两个短命令的代码放入其中并保存,之后就可以通过快捷指令开关代理了。
# 网络代理设置
setp() {
    host_ip=127.0.0.1
    export http_proxy="http://$host_ip:7890"
    export https_proxy="http://$host_ip:7890"
    echo "Proxy enabled."
}

usetp() {
    unset http_proxy
    unset https_proxy
    echo "Proxy disabled."
}
保存后,执行 source ~/.bashrc 使配置生效。
- 测试是否可以正常使用
curl -I https://www.google.com
最后一次修改于 2025-12-13